
By Juan Torralba
In the Latin culture,
center pieces and arrangements on the tables at celebrations are usually
created for the guests to take home after the celebration. Generally, these are
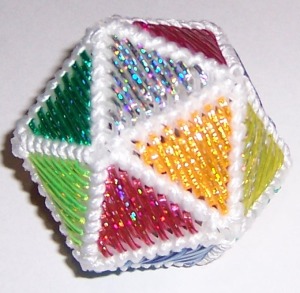
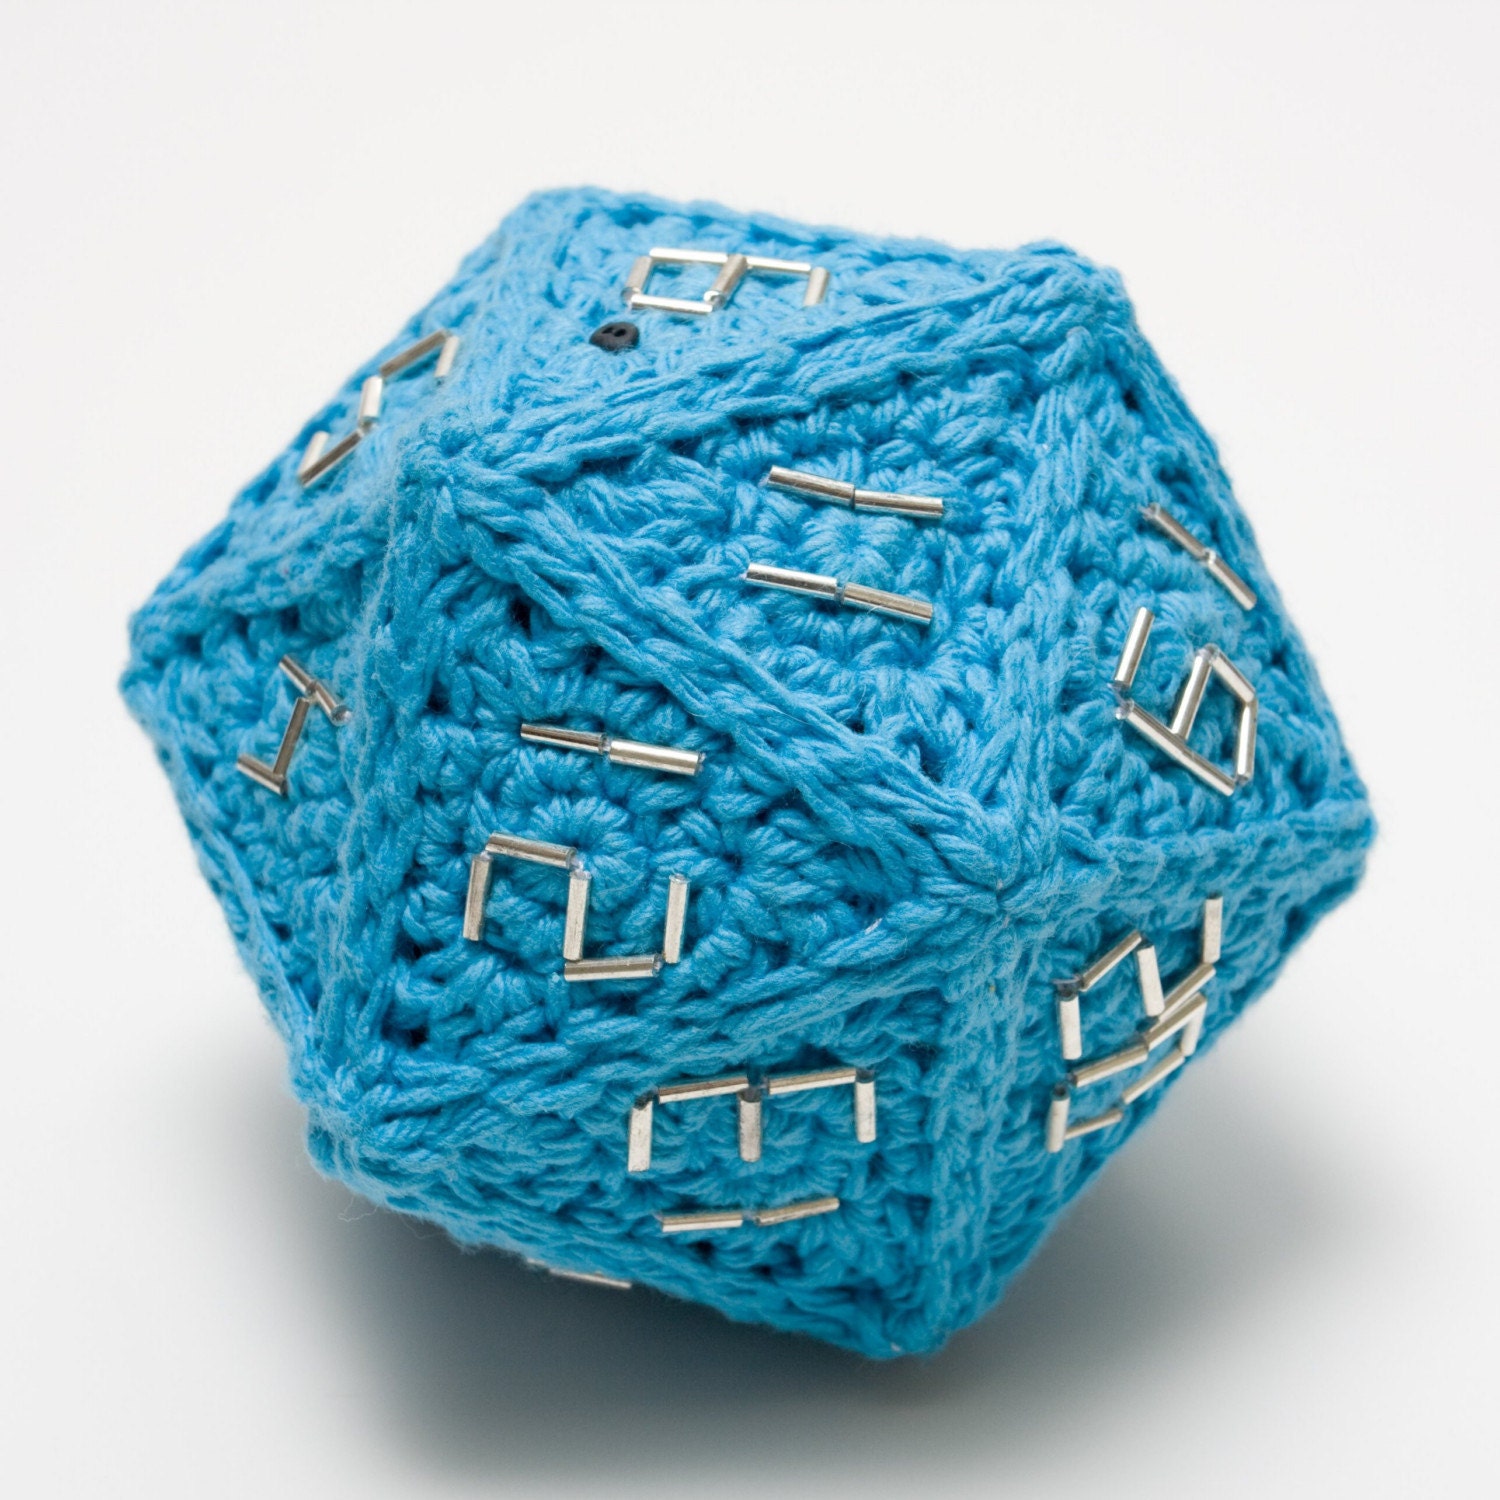
made for quinceaneras, baptisms, and baby showers. One of those arrangements
are the ones made using plastic canvas and yarn. And while they can be time
consuming to create, people are always looking forward to them. There are so
many different designs that can be made that you can never have too many of
them. In almost every traditional home, you can find one of those arrangements
or least the people will know exactly what you’re talking about if you mention
it.


There are so many
geometry concepts involved in creating these designs and people aren’t usually
aware of them when they create them. So my idea for STEM Day, which was to be
something fun with geometry, was to have the students create some of these
plastic canvas designs and learn about the geometry behind it without
explicitly teaching it to them.

I chose this activity
mainly because it’s something many of the students can relate to, it’s very
hands-on, and it was something the kids could not only take home but also
continue doing on their own. As mentioned before, I wanted the students to
learn about the geometry behind those designs. Many of those designs are
tessellations which involve many concepts such as symmetry, similarity,
congruency, transformations and so many more. In addition, each design came
with a list of materials, which gave the students specific measurements of each
color of yarn needed and the area of plastic canvas needed as well. The
students would have to measure everything themselves and select the appropriate
canvas size for their design.


That was the goal,
however, things did not go as well as I planned it. The first problem we
encountered was that some of the students came in after we had explained some
of the instructions, so we had to wait for them to select their designs and
materials before we could begin teaching them how to cross stitch the yarn
through the canvas. That process was not supposed to take very long, since it
was a relatively simple over and under type of stitching. However, I had two
out of the four students I was helping who simply did not understand that
process. The other two students, which happened to be girls, understood the
process rather quickly and began to work on their design. While the two
struggling students, which happened to be boys, took 5 to 10 minutes to figure
it out. Another problem was the detail of the designs we selected. The designs
my students selected were mainly composed of single cross stitch, which takes a
lot longer than the other ones available. So, naturally, we ran out of time and
the students left with incomplete designs.


What went well was that
we had all the necessary materials and designs with instructions on them, which
made the selection process and gathering of materials quite smooth. Another
thing that went well was that the students who basically mastered the art of
cross stitching loved it so much that they stayed an extra hour to finish their
design. One of my actual student who attended the STEM Day, brought to class some of the other designs she created over the weekend and told me how much she enjoyed working on them.
If I were to do this
again, which I plan on doing, I will assign it as a project, rather than a
lesson or one day activity. I would probably give my students a short
instructional video on how to start and finish stitching as well as other
little details they may need to know once they start working on their designs.
I would definitely give them plenty of time to complete it in order to allow
them to be as detailed as they want with their designs.
Here are some of the links that will help you learn simple cross stitch, find the materials, and get some ideas of geometric creations your students can work on.
Here are some of the links that will help you learn simple cross stitch, find the materials, and get some ideas of geometric creations your students can work on.
Resources
How to cross stitch
How to start and end a strand of yarn
Designs
Materials
No comments:
Post a Comment